Backpacking Water Guide for Beginners
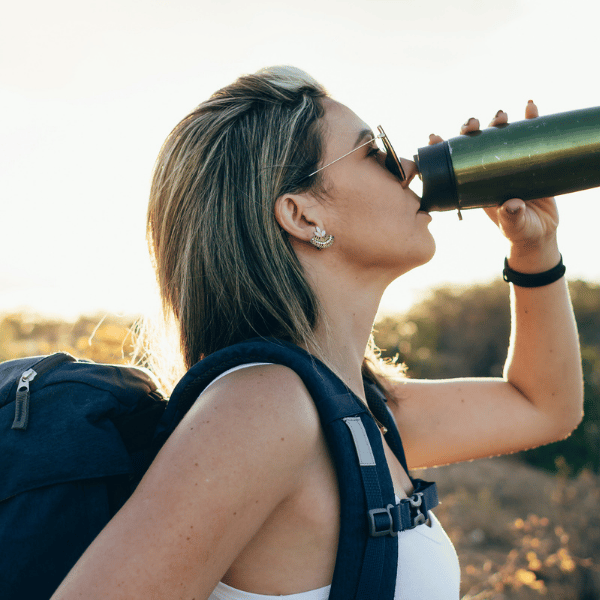
When it comes to backpacking hydration, knowing how much water to intake when backpacking is crucial to reduce the risk of injury or health risks.
In this guide, we dive into backpacking water for beginners, which is a backpacking water guide to make sure you intake enough water while backpacking.
Contents
Backpacking Water Hydration

Up to 60% of your body is H2O, and you can only survive three to four days without your next fix of water. When venturing away from civilization and into the wilderness, you must keep an eye on your supply so as to not become another statistic, just like your mother warned you about.
For most people, keeping a decent supply of water is a fairly simple task without the need to consume parasite-ridden stream water from the hike, however, a long time away from a reliable source does present some challenges.
Let’s dive into how much water per day of backpacking you should consume.
How Much Water Per Day of Backpacking?
The U.S National Academies of Sciences, Engineering and Medicine recommend that a healthy adult male living in a temperate climate consumes around 3.7 litres over 24 hours, and 2.7 litres for women.
Now that statement carries a lot of information and a lot of conditionals. You could use this to say “during my 12-hour hike, as an adult male, I need to carry and consume 1.85 litres of water” but there is more to consider. To begin with, hiking can be a strenuous exercise. The temperature and exposure to direct sunlight have a huge influence on your intake. Carrying large weights, such as 2 litres of water, can also affect how much you have to hydrate.
The good guys at REI recommend that you consume roughly half a litre of water per hour of moderate exercise. If you have direct exposure to sunlight, or it is particularly warm, or if the hike is considerably difficult, consider increasing this to 1 litre an hour. A little bit of trial and error goes a long way to refining your supply to the perfect amount, although always be on the side of caution and sacrifice a little bit of weight to your basic need of hydration.
So, before you start your hike, do a little research to find out the following:
- the difficulty of the route
- the predicted weather conditions
- the length of the hike
Once you have that information, you can do a little math. For a 5 hour moderate hike in average weather conditions, it will be 5(hours) x 0.5(litres) = 2.5 litres. For a 4 hour uphill scramble in the sun, it would be 4(hours) x 1(litre) = 4. As an extra precaution, consider putting an extra half litre in your pack in case you are thirsty, or it’s warmer than you thought, or the hike takes longer than expected, or if you happen to find somebody else in dire need of water because they did not do their math homework.
How to Carry Water While Backpacking
The key to success is to always keep your water accessible. Many hikers and trail runners use a hydration reservoir; a strong bladder that can slip into many day-hiking and tramping backpacks with a tube that can extend from the bladder to the outside of the backpack. This tube is often clipped to one of the straps of your backpack, giving you instant access whenever and wherever you need hydrating.
There are two problems with using hydration reservoirs. Firstly, careless packing can lead to a puncture in the bladder which creates a universe of problems for you. Secondly, you cannot see when your water supply is low without taking the whole bladder out, which most people would never do mid-hike. If you need to conserve, sometimes you may not know until it is too late.
This brings us to our next option; the humble bottle. Many outdoor companies produce special PVC-free bottles with various caps and lids… the options are honestly endless. Bottles are a more budget-friendly approach to hydration than the bladders, especially as in desperate times, any bottle that doesn’t leak will do the trick. It is best to keep bottles within easy reach, in a mesh pocket on the outside of your backpack for example.
Using a bottle can also have its disadvantages. To begin with, they make it a little harder to access your water quickly or on the move, often forcing the hiker to stop to take a sip so that it doesn’t spill all over themselves (thank you Nalgene with your giant openings) and little delays can add up. Secondly, the water reservoirs are much better at evenly distributing the weight in your backpack as a water bottle can pull much of the weight over to one side, or prove an uncomfortable addition to the main pocket.
Consider these three things when deciding which vessel to use:
- is it big enough?
- will it leak?
- how quickly do I need to access it?
Filtering and Purifying Water While Backpacking
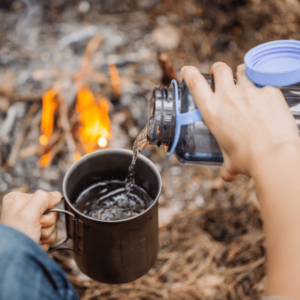
For those who venture a little deeper into the unknown, a little math calculation might leave you wondering if you should pack a bathtub. Water is not only needed for consumption when camping, as it is also needed for cleaning, for cooking, and for the production of sweet sweet coffee, which means you need access to even more.
This is where you should start considering water purification, and to check that you have access to some sort of preferably running water supply along the way. There are many different ways to go about removing the parasites and viruses found in natural water supplies.
First, you can use purifying tablets. Usually, 1 tablet will purify 1 litre of water and make it safe for you to drink, although do check the instructions of your particular tablets rather than just presume that all tablets are the same. They are simple to use; pop them in and then wait… and often quite a long time. Some can take up to 4 hours.
The next option is one of our personal favorites. In recent years, many companies have started to produce filtering straws, often built inside a water bottle. These straws can often filter up to 18,000 liters (yes you read that correctly) of water. Perhaps the most famous is the Lifestraw, which developed the straw for developing communities that have no access to clean water. To this day, they donate a straw to communities without clean water for every straw purchased through their company. So there you go folks; stay hydrated and make the world a little better in the process.
Lastly, you can boil water to make it safe to drink. Keep it bubbling for at least a minute, 3 if above 2000 meters in elevation, and be sure to let it cool down before subjecting yourself to third-degree burns of your insides.
Best Water Sources to Filter While Backpacking
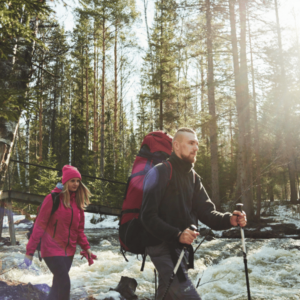
While the instructions of your filtering straw or purifying tablets might insist that any water is safe to drink after filtration, obviously some are a little more pleasant than others. This water will be going in your mouth after all. A cool, clean mountain stream is probably favorable over a static muddy puddle, filled with dirty needles and alligators.
Firstly, use your eyes. Does the water look clean? If yes, that’s a good start.
Secondly, consider that running water is better than static water. It has considerably less time to gather dirt and disease if it is on the move.
Thirdly, it is best to check that your water source is fresh water and not saltwater, even if only for the taste. Saltwater is also toxic as your body cannot process the excess salt in your body without fresh water to dilute it.
And lastly, take a moment to consider where the water is coming from and what could potentially pollute it on the way to where you are now. If you are surrounded by agriculture where pesticides or manure could contaminate it, then even if it looks clean, you can be assured that the water is not safe to drink without any sort of filtration or purification.
Backpacking Water Hydration FAQ
Collecting rainwater, particularly away from polluted cities, is by far your safest option. You can either do this by catching it in a bucket or pan or something to that degree that you happen to have with you in your backpack.
1) Consider asking other hikers around you if they have any water to share, making sure to return the favor to the next hiker who asks for help, too.
2) Look at a map and plan the quickest way to a town or safe water source.
3) Vegetables such as carrots and citrus fruits pack a decent amount of water as well as make healthy and nutritious snacks.
4) In an emergency, call the emergency services from a phone or satellite phone.
Common symptoms include fatigue, headaches, dizziness, dry mouth, and dry skin. You should also remember that water normally flows through your body, and if nothing is coming out the other end over an extended time, it could be time to rehydrate. If you feel weak and dizzy, seek out shade, sit down, rehydrate and if possible eat something with high water content.
